Drawing in code:
Part 1 (Drawing the prototype):
After i published my little fun swing nixieclock i got a lot of requests on how i transferred the image into swing.
Because i remember when i was starting swing development i asked myself the same questions when i saw the amazing work of swing/design guru’s like Kirill Grouchnikov, Romain Guy, Joshua Marinacci, Chet Haase, and others.
Well in the meantime i figured out how to do this and find a workflow that i would like to share here. By the way this is really nothing compared to the things these swing/design guru’s are able to do.
So here we go, first of all i have one good advice for you „Know your tools“,
which means not only java and swing but also your graphics program.
So i’m using Adobe Fireworks for that but you could also use any other kind of graphics program like Adobe Photoshop, Gimp, Inkscape etc.
I will start the tutorial with the drawing of the tube in Adobe Fireworks because it makes coding in swing so much easier if you know how to draw it in a graphics program. So the first part will be focussed on the drawing and the second part will explain how to draw all the different points in java2d/swing:
| So we would like to create a nixie glass tube in swing that should look similar to this but to keep it simple i will focus only on the glass tube itself without any numbers or logic etc.Once you understand the way of doing this you could easily adopt these technique to everything you would like to do (if there is a equivalent in swing). | 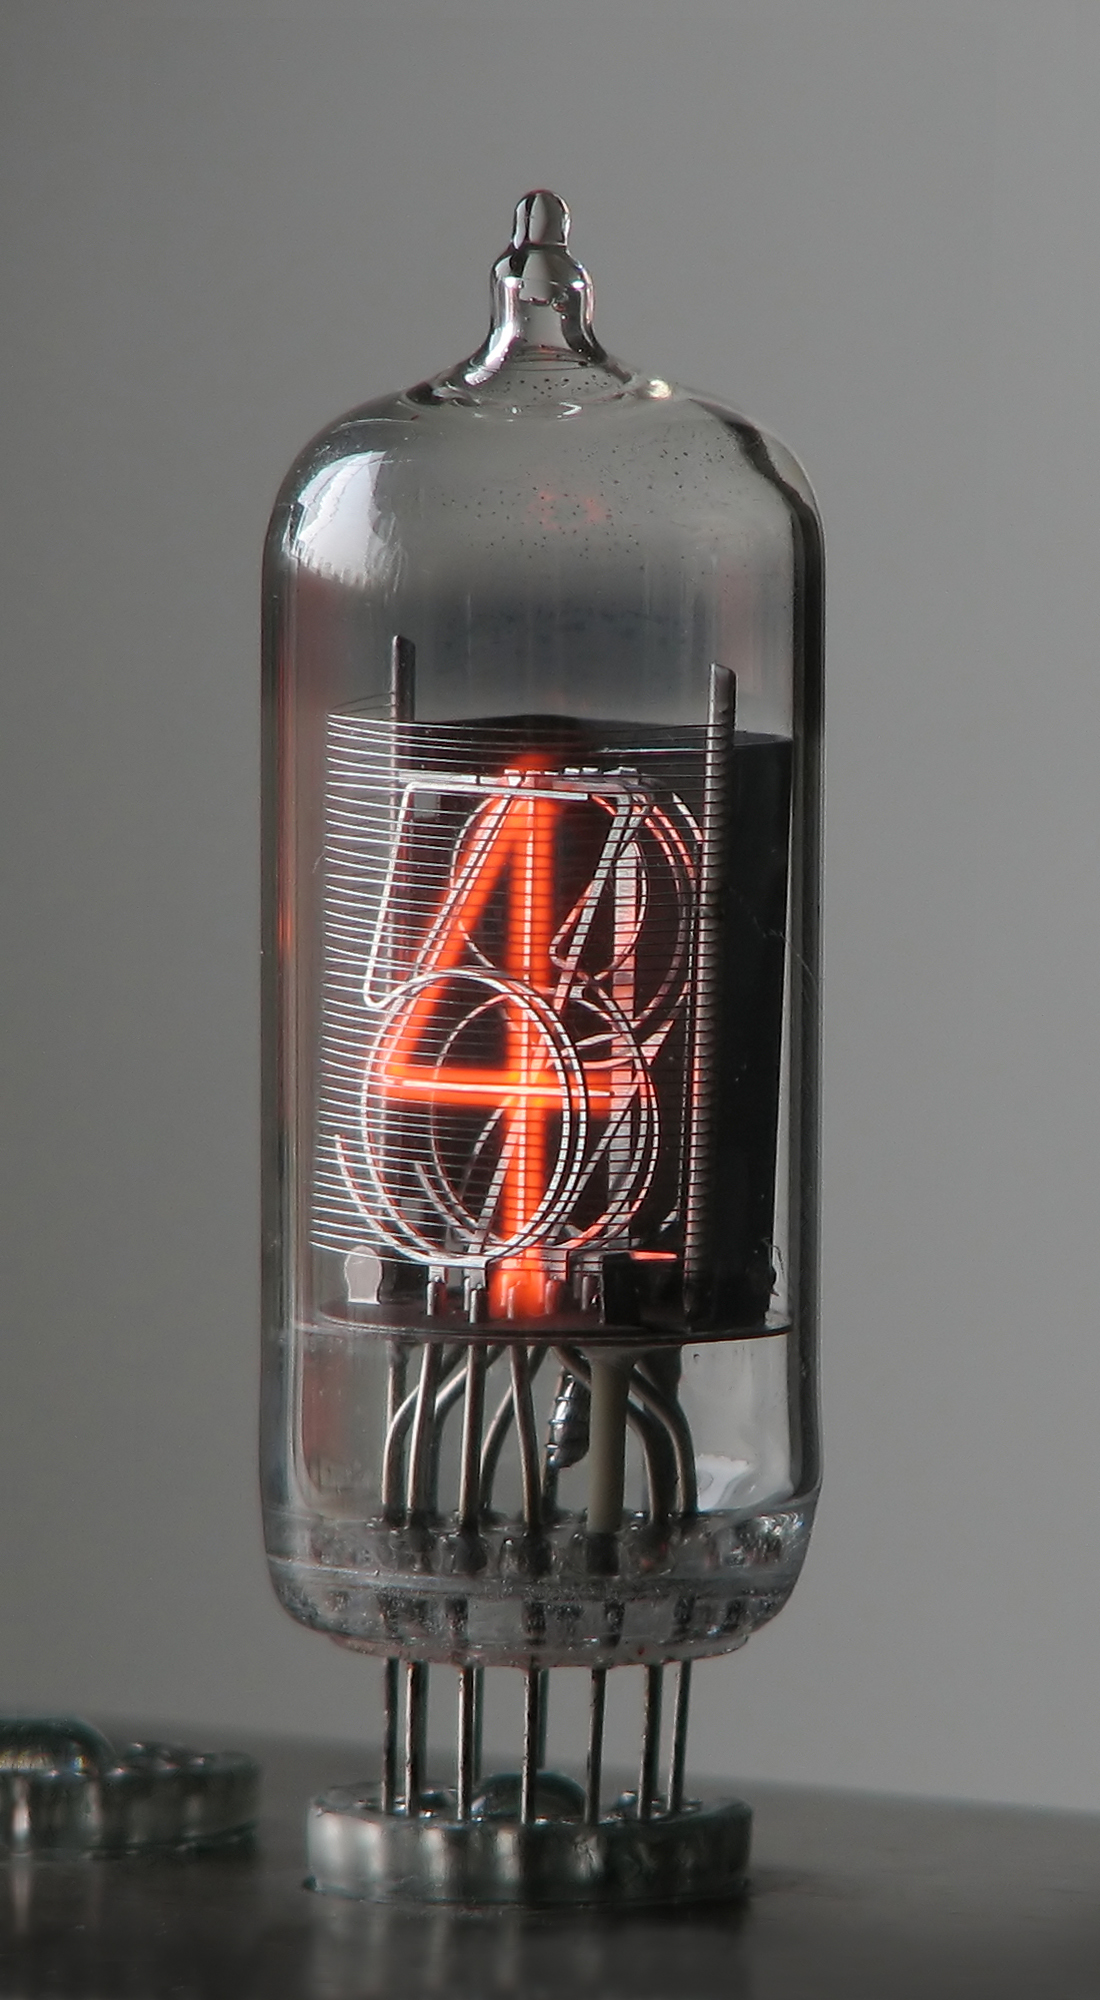 |
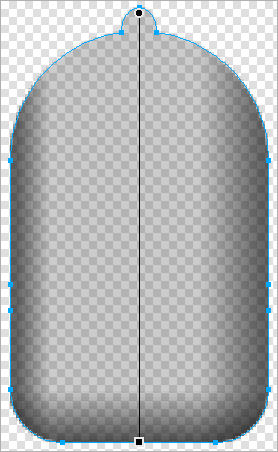
| Step 1. Draw a vertical pill which will be the main body of the tube. | 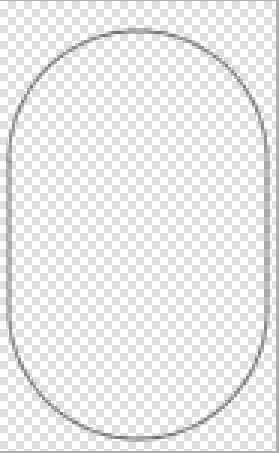 |
||||||||||
| Step 2. Draw a rounded rectangle that will represent the bottom if the tube. | 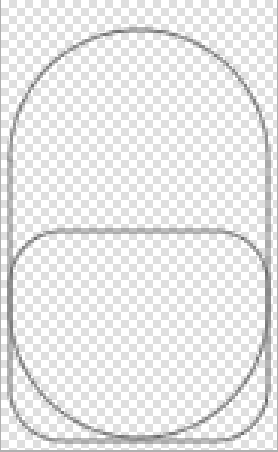 |
||||||||||
| Step 3.Merge this two shapes into one shape. | 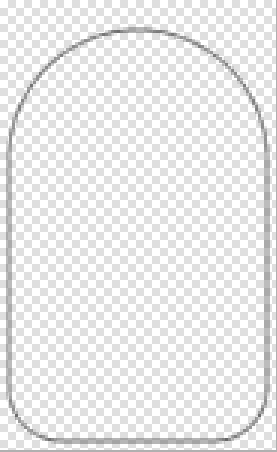 |
||||||||||
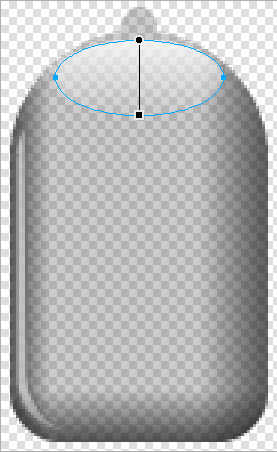
| Step 4.Now draw a little ellipse on top of the tube. | 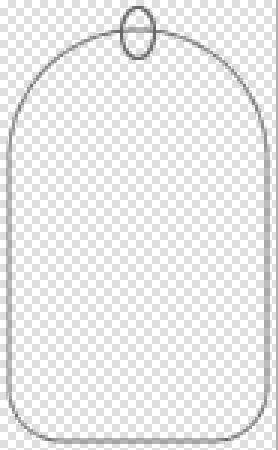 |
||||||||||
| Step 5.Again merge the two shapes into one. | 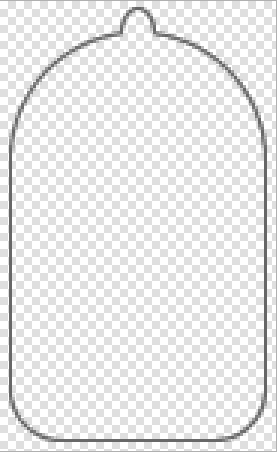 |
||||||||||
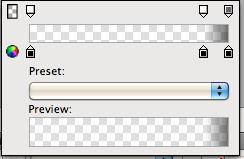
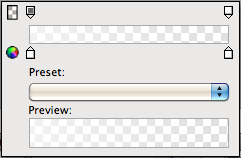
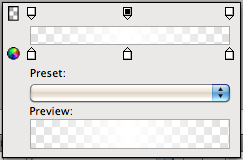
Step 6.Fill the tube with a horizontal gradient from left to right where you use black with different values for transparency.
|
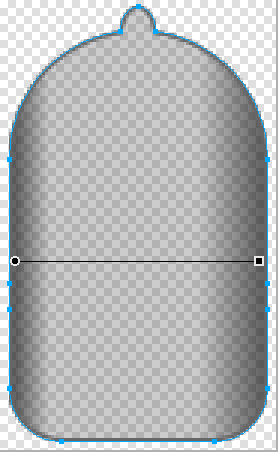 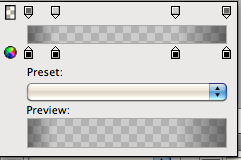 |
||||||||||
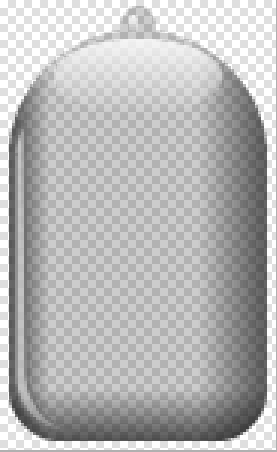
Step 7.Now fill the same tube shape again with a vertical gradient from top to bottom again using black with different values for transparency.
|
  |
||||||||||
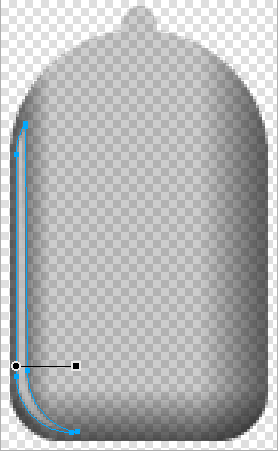
| Step 8.Now we will add some reflection effects. First of all a side light reflection. Therefor create a vertical rounded rectangle. Than create a second rounded rectangle which is slightly higher than the first one and place it a little bit shifted to the right of the first one. | 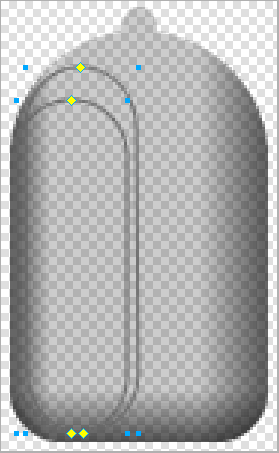 |
||||||||||
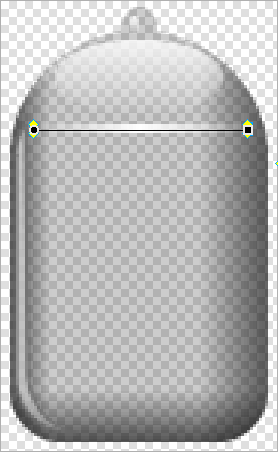
| Step 9.Subtract the second rectangle from the first one. | 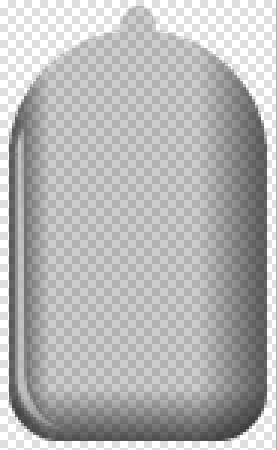 |
||||||||||
Step 10.Now fill this shape with a horizontal gradient from left to right with white of with different values for transparency.
|
  |
||||||||||
| Step 11.Create a ellipse on top of the tube which will be the top light reflection. | 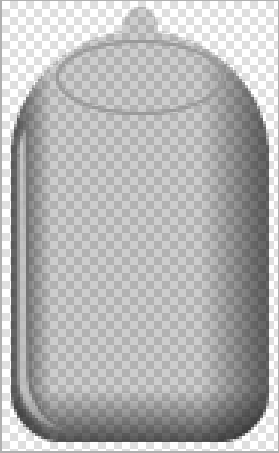 |
||||||||||
Step 12.Fill this ellipse with a vertical gradient from top to bottom with white with different values for transparency.
|
  |
||||||||||
| Step 13.Next add a small ellipse on the very top of the tube. | 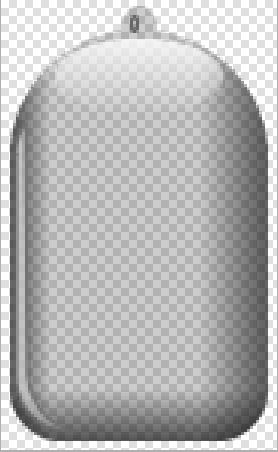 |
||||||||||
Step 14.Fill this ellipse also with a vertical gradient from top to bottom with white with different values for transparency.
|
 |
||||||||||
| Step 15.Finally create a small horizontal rectangle on the top of the tube. | 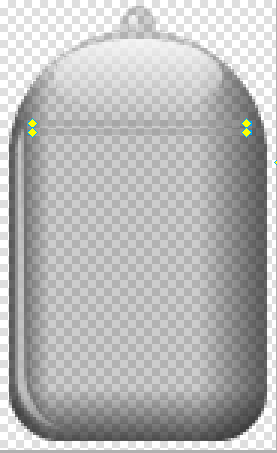 |
||||||||||
Step 16.Fill this rectangle with a horizontal gradient from left to right with different values for transparency
|
  |
||||||||||
| That’s it… so we created a nice looking glass tube just with combination of some shapes and gradients.In the second part of the tutorial i’ll explain the representation of all these shapes and gradients in code…so hang on… | 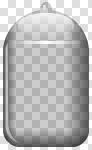 |
Part two: http://www.jug-muenster.de/drawing-in-code-part-2-2-384/